
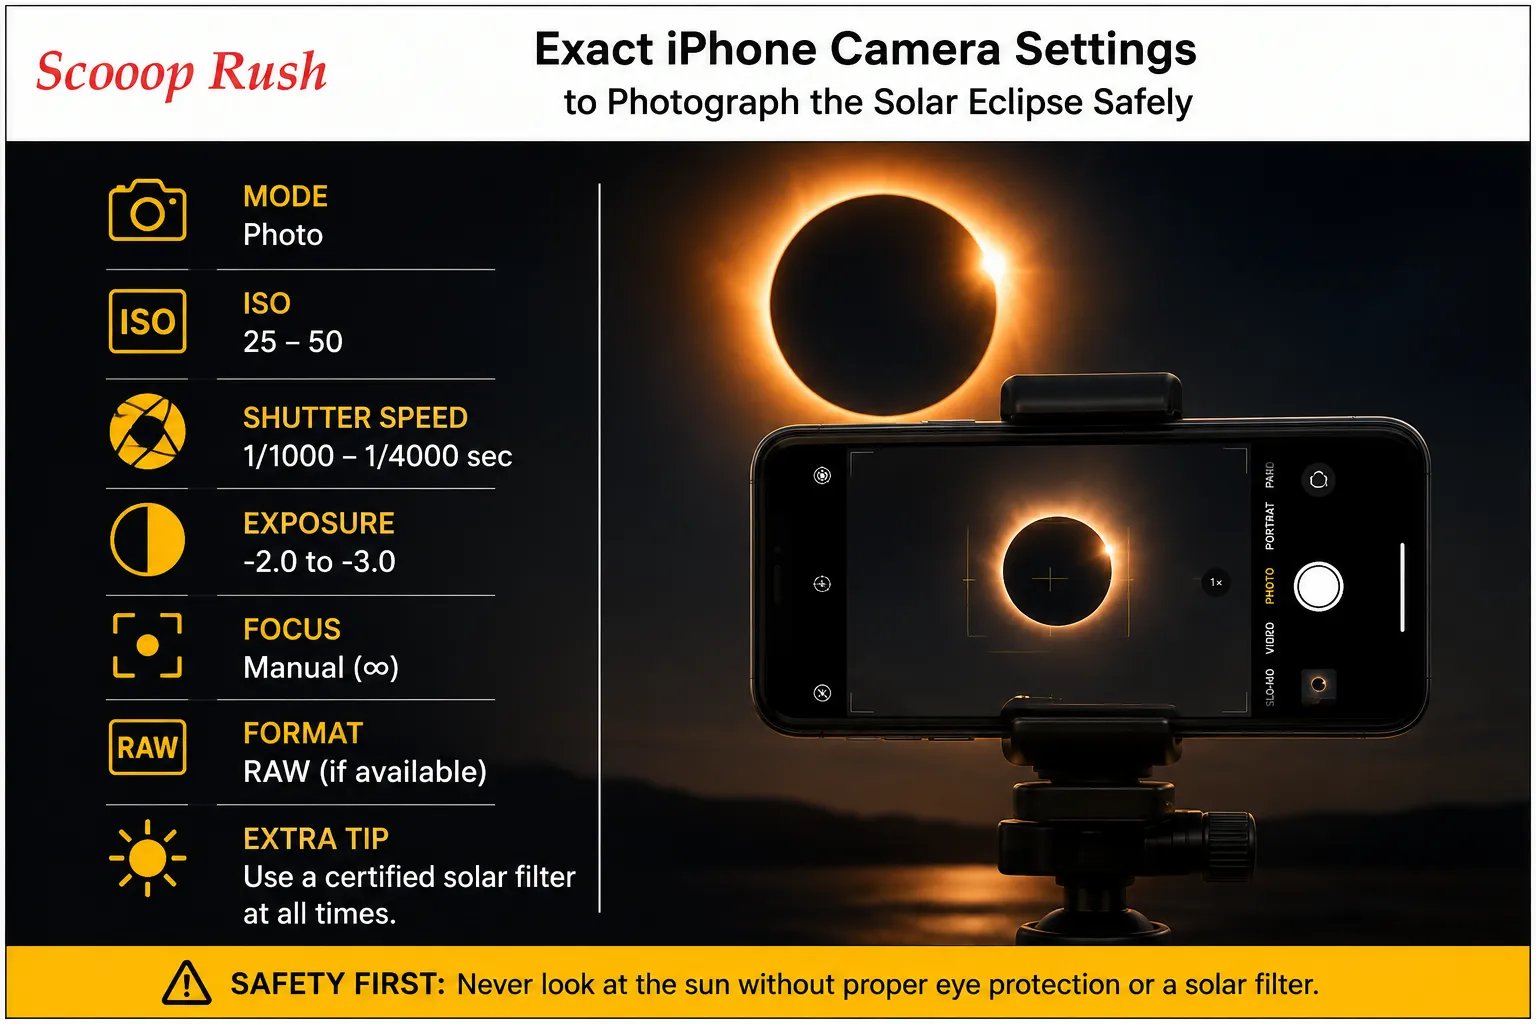
Could one wrong tap on your camera screen cost you £250 in phone repairs? Getting your iPhone camera settings right for the eclipse matters, since millions will instinctively raise their phone toward the sun this week. However, that single move could permanently damage your camera sensor if you skip the right precautions.
Introduction
This eclipse is being called the most complete one visible until 2090, so naturally, everyone wants a photo of it. But before you rush outside, you need to know the exact iPhone camera settings for solar eclipse photography, along with the safety steps that come before them. The sun’s rays remain powerful enough to burn through a camera sensor in seconds, even when most of the sun is covered by the moon. As a result, getting your settings and safety gear right matters just as much as timing your shot. This is especially worth planning for if you’re using one of the newer iPhone models, since sensor repair costs only climb higher on premium devices.
Why Your Phone Camera Is at Risk During the Eclipse
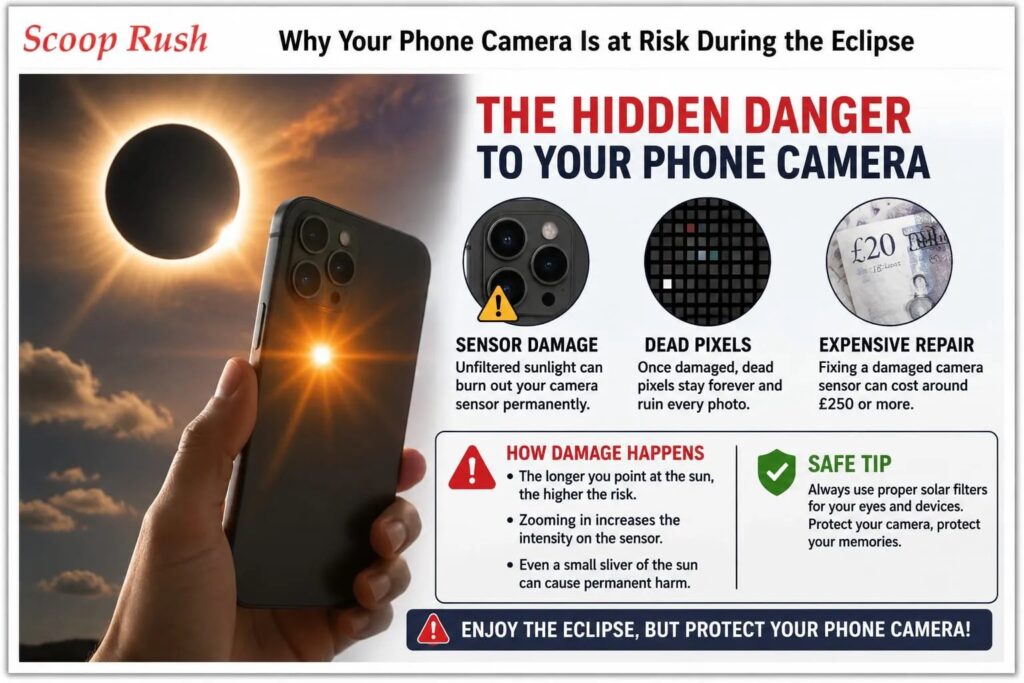
A phone camera lens focuses light onto a small sensor. On a normal day, this rarely causes problems because people do not usually stare directly at the sun. An eclipse changes that. It pulls everyone’s attention upward, and that is exactly where the danger begins.
Experts told Metro that pointing an unfiltered lens at the sun risks burning out the sensor, much like looking directly at the sun risks permanent vision damage. A phone lens concentrates sunlight into an intense point on the sensor behind it. Enough unfiltered exposure kills pixels permanently, and every photo taken afterward carries the same dark marks.
This damage is known as dead pixels, and it does not heal over time. Once the sensor suffers this kind of harm, it stays damaged. Repairing it can cost around £250, which is a steep price for a careless few seconds.
How Camera Damage Actually Happens
The longer your camera points at the sun, or the more you zoom in, the greater the risk becomes. At minimum, your phone could overheat and shut down temporarily. In more serious cases, especially with extended exposure or telephoto zoom, the sensor takes permanent damage.
Even though the eclipse blocks most of the sun, the small sliver that remains visible still carries enough intensity to cause harm. Therefore, treating this like an ordinary sunny-day photo is a mistake worth avoiding.
Protecting Your Eyes Comes First
Before you even think about camera settings, your eyes need protection. Your phone screen lets you compose a shot safely, but it will not shield your eyes if you glance up at the sun directly.
NASA has been clear on this point. The agency explains that viewing any part of the sun directly, or through a camera lens, binoculars, or telescope without a proper solar filter, causes instant and severe eye injury. This risk applies even if you are wearing eclipse glasses, since concentrated solar rays can burn straight through unprotected optics.
Eclipse glasses are designed for direct viewing, but they are not automatically safe as camera filters. Your phone or camera needs its own solar filter, fitted correctly according to manufacturer instructions.
What Not to Use as a Filter
Regular sunglasses will not protect your eyes or your camera, no matter how dark they appear. Similarly, everyday photographic filters, exposed film, and smoked glass are not safe substitutes. If you are ever unsure about a product, it is worth checking with a reputable astronomy or photography specialist rather than guessing.
Eye damage from looking directly at the sun is called solar retinopathy. This condition damages the retina, the part of the eye responsible for sensing light. It often happens quickly and painlessly, so a person might not even realize the harm is occurring until later. Symptoms include blurry vision, blind spots, and in severe cases, permanent vision loss.
Exact iPhone Camera Settings for Solar Eclipse Photography
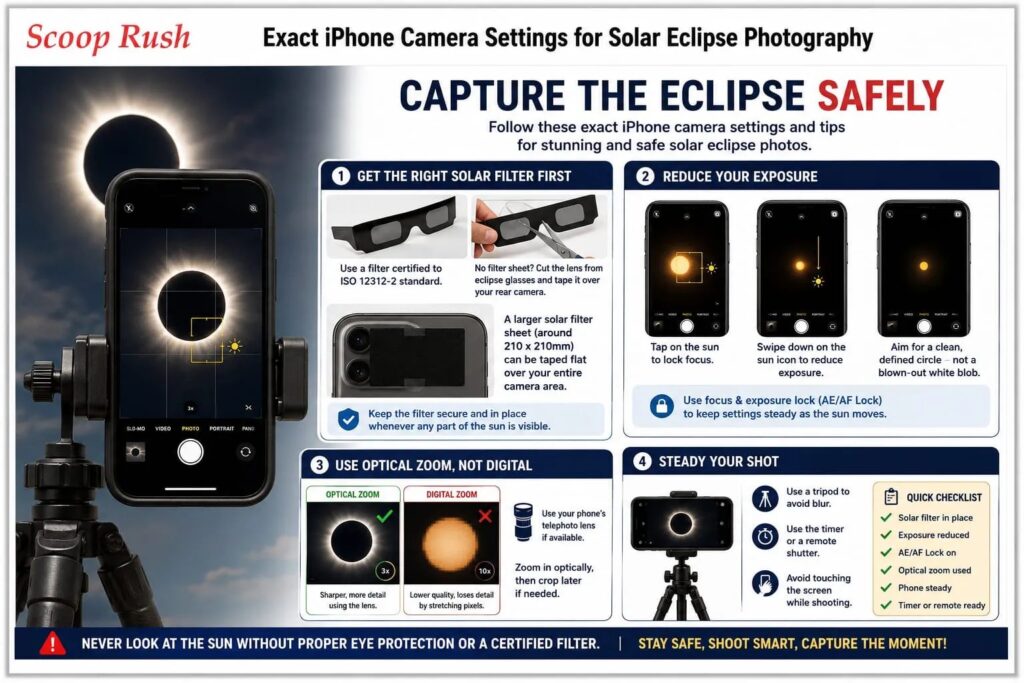
Once your eyes and equipment are protected, it is time to focus on your iPhone camera settings for the eclipse itself.
Get the Right Solar Filter First
NASA recommends using filters certified to the ISO 12312-2 standard. This certification ensures the filter reduces visible, ultraviolet, and infrared radiation to levels your phone sensor can safely handle.
If you do not want to buy a dedicated solar filter sheet, a spare pair of eclipse glasses can work as a makeshift filter. Simply cut the lens out from the cardboard frame and secure it over your phone’s rear camera lens. Just make sure you keep another pair for your own eyes.
A larger solar filter sheet, often around 210 x 210mm, offers more flexibility. It is big enough to tape flat over your entire rear camera area, which helps since many phones switch between multiple lenses automatically.
Whatever filter you use, position it carefully before pointing your phone toward the sun. Do not let it slip, crease, or come loose while shooting. It needs to stay securely in place for as long as any bright part of the sun remains visible.
Reduce Your Exposure
Open your camera app and tap on the sun on your screen. A yellow box with a small sun icon appears. Swipe down on that icon to reduce the exposure. Aim for a clean, defined circle rather than a blown-out white blob.
If your phone offers a focus and exposure lock option, use it. This stops your settings from shifting every time you slightly reframe your shot, which helps when the sun keeps drifting out of frame.
Use Optical Zoom, Not Digital
Whenever possible, use your phone’s optical zoom rather than digital zoom. Optical zoom produces sharper, more detailed images because it relies on the physical lens instead of stretching pixels. Heavy digital zoom will not reveal detail that was never captured in the first place, so it is better to get as close as your optical lens allows and crop later if needed.
If your phone has a longer telephoto lens, use it now. A steadier, more zoomed-in shot through optical means will always beat a shaky digital crop.
Steady Your Shot
A small tripod makes a noticeable difference. Even slight hand movement can blur your photo, especially when zoomed in. Using your phone’s timer function, or a compatible remote shutter, helps avoid the shake caused by pressing the on-screen capture button.
What Happens During Totality
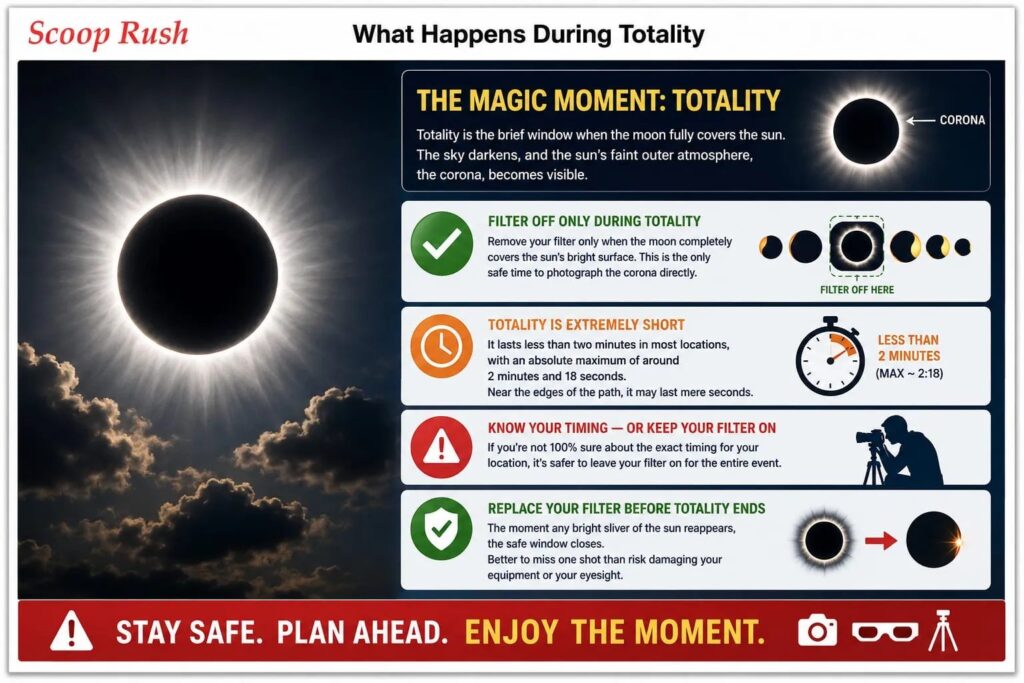
Totality is the brief window during a total solar eclipse when the moon fully covers the sun. During this short period, the sky darkens, and the sun’s faint outer atmosphere, known as the corona, becomes visible.
If you happen to be inside the path of totality, the filter can only come off once the moon has completely covered the sun’s bright surface. This is the one moment when photographing the corona directly becomes safe, since the filter would otherwise block it from view entirely.
However, this window is extremely short. Totality during this eclipse lasts less than two minutes in most locations, with an absolute maximum of around two minutes and eighteen seconds. Near the edges of the path, it may last mere seconds. If you are not entirely confident about the exact timing for your location, it is safer to leave your filter fitted throughout the entire event.
Whatever you do, replace your filter before totality ends. As soon as any bright sliver of the sun begins to reappear, the safe window closes immediately. It is far better to miss one extra shot than to risk damaging your equipment or your eyesight.
Conclusion
Capturing the solar eclipse on your iPhone is absolutely possible, but only with the right precautions in place. Protect your eyes with certified eclipse glasses, fit a proper ISO 12312-2 solar filter over your camera lens, and then adjust your exposure and zoom settings for the clearest shot. Skipping these steps could cost you your phone’s camera sensor, your eyesight, or both.
Ultimately, a little preparation goes a long way. Get your filter, tripod, and camera settings sorted well ahead of time so you are not fumbling with menus while the sky darkens above you. This eclipse will not return again until 2090, so it is worth getting right the first time.
FAQs
Can I take a photo of the solar eclipse with my iPhone?
Yes, but only with a certified solar filter placed securely over your rear camera lens. Without one, the sun’s rays can permanently damage your phone’s camera sensor.
What exact iPhone camera settings should I use for the eclipse?
Tap on the sun on your screen, then swipe down on the yellow sun icon to lower the exposure. Aim for a sharp, defined edge around the sun rather than a bright, blown-out circle, and use optical zoom instead of digital zoom for the clearest result.
Will pointing my phone at the sun really damage the camera?
Yes, unfiltered exposure can burn out pixels on the sensor permanently. This leaves dark marks on every photo afterward, and repairs for this kind of damage can cost around £250.
Can I use eclipse glasses as a camera filter?
Yes, you can cut the lens out of a spare pair of eclipse glasses and tape it over your phone’s camera as a makeshift filter. Just make sure you keep a separate pair to protect your own eyes while viewing.
Is it safe to remove the filter during totality?
Only if you are within the path of totality, and only once the moon fully covers the sun’s bright surface. This window lasts under two minutes, so the filter must go back on the moment the sun starts to reappear.

